Use the Text Defaults for Confined Space page to customize the lists of selections available when filling in a Confined Space assessment or permit. Customize the selections for each type of content in the Manage list (Qualification Criteria, Hazards, Pre-Entry Checks, and so on).
To access this page select Confined Space > Confined Space Admin > Edit Text Defaults.
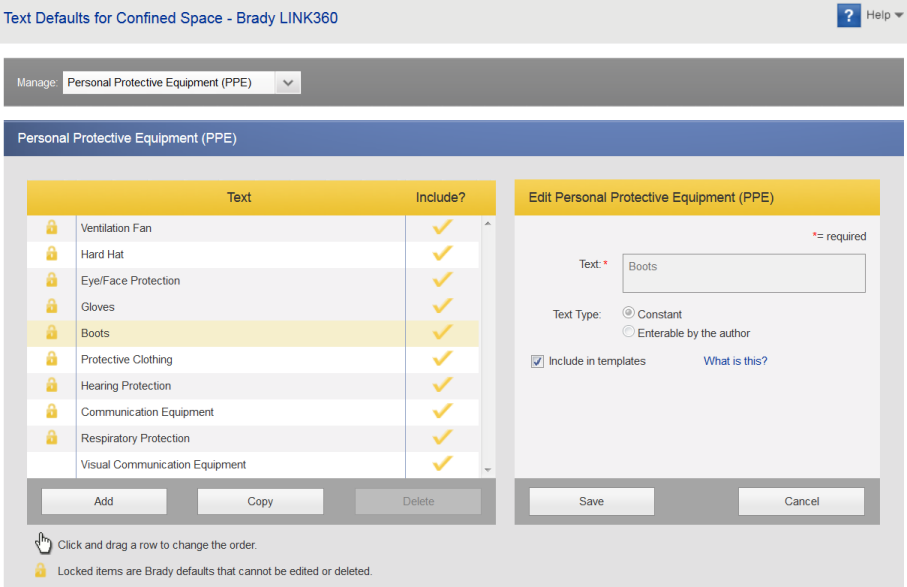
Note: You cannot delete or edit any standard Brady text defaults. A locked padlock icon indicates these Brady defaults. You can, however, copy locked Brady defaults to create a new text default that can be edited to meet your needs.
To add or edit an item in a list:
- Select a category from the Manage drop-down list.
- Select or create a new item as follows:
- To create a new item based on an existing one, click the item you want to start with and then click Copy.
- To add a new item, click Add.
- To edit an existing item, click the item.
- Fill out the editing pane on the right. (This pane is only visible when an item in the list of text defaults is selected.)
- For some types of text defaults you must choose whether it is a Constant or Enterable by the author. When filling out a document, a constant is shown exactly as specified here and the document author cannot modify it. For a text default that is "enterable," the document author can provide their own text. For example, a text default for "Eye Protection" could be specified as Enterable by the author so that the author can specify the particular type of eye protection required.
- Select Include in templates if you want this item to be available to authors when creating Confined Space documents.
- Click Save.
To remove an item from a list:
Note: You cannot delete any standard Brady text defaults. A locked padlock icon indicates Brady defaults that cannot be deleted. You can disable the Brady defaults for authors by clearing the Include in templates check box.
- Select the item in the list.
- Click Delete.
- Click Delete again to confirm.
To organize a list:
Place the items in the list in the order that best suits your needs. You may choose to order the list alphabetically or perhaps with the most frequently used items at the top of the list.
- Select an item in the list and drag it to the desired position.