Add or Edit Sites, Areas, or Equipment
Note: When adding or editing a site, area or equipment, the details display at the bottom of the screen. Required fields are identified with a red asterisk (*).
To access this page, point to Setup & Admin and click Setup Equipment Hierarchy. You must have rights to set up equipment hierarchy.
To add or edit a site:
- In the Site column, click Add to add a new site, or select a site from the list of sites. Information for that site opens below.
- Add or edit the site details.
- Enter any optional Notes (such as facility details or contact information).
- Click Save. If new, the site is added to the list of sites (in alphabetical order).
To add or edit an area:
- Select a site from the Site column.
- In the Area column, click Add to add a new area, or select from the list of areas to edit. Information for that area opens below.
- Add or edit the area details.
- Enter any optional Notes (such as contact information).
- Click Save. If new, the area is added to the list of area (in alphabetical order).
To add or edit equipment:
- Choose a Site and Area. Alternatively, if the equipment you want to edit has a scannable ID and you know the human-readable text, type it in the Find Equipment by Scannable ID field and click Search. Skip to step 3.
- In the Equipment column, click Add to add new equipment, or select from the list of equipment to edit. Information for that piece of equipment opens below.
-
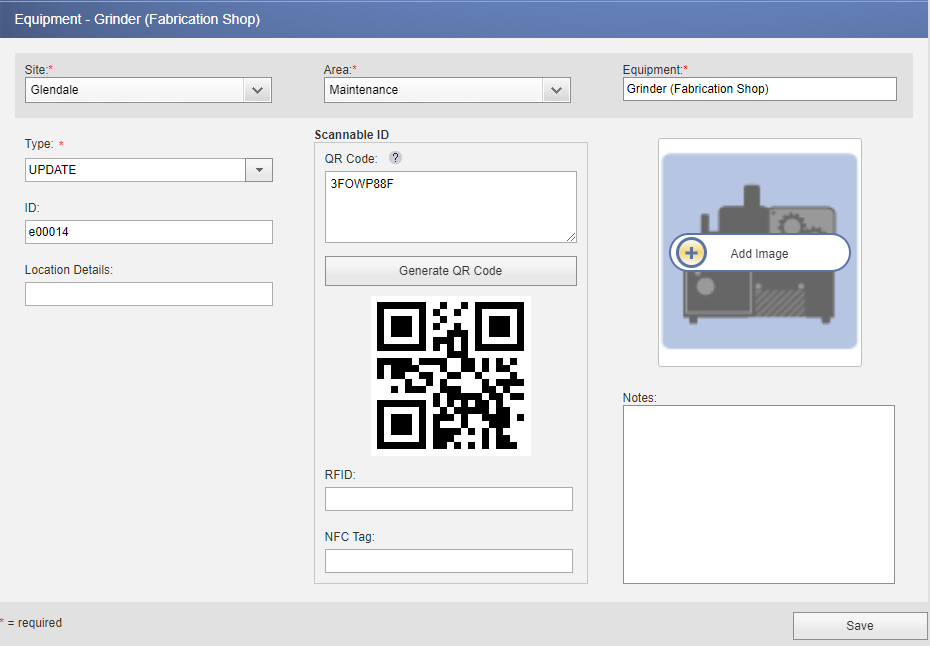
Add or edit the equipment details (Name, ID, Type, and so on).
- Type is selected from a list of pre-defined equipment types. See Set Up Equipment Types.
- ID must be between 0 and 45 characters.
- Location Details can include a description of where the equipment is located within the facility (for example, North side or Panel 3).
- To move the equipment, select a different Site or Area.
- Enter any Notes (such as model number, manufacturer, and so on).
- To add an image, click Add Image. Click either Upload From Computer or Choose From Google Drive. If uploading from Google Drive and the selection window does not open, check your browser for blocked popups. Once the image is selected, click Insert + Edit. Crop the image if desired (see Edit Images). Click OK.
-
Add scannable codes to the equipment if desired. (For an overview, see Using Scannable Equipment Codes.) The software can generate a human-readable code for you or you can manually enter a code.
- To generate a code: Click Generate QR Code.
- To manually enter a code: Type the human-readable text for the code in the QR Code, RFID, or NFC Tag field. For QR codes, the software displays a preview, but you will need to generate and print the barcode separately. LINK360 currently supports QR Code barcode symbology.
Tip: If you have many codes to add, data entry is quicker in a Microsoft Excel spreadsheet.
- Run an Equipment Report to get a list of equipment and export the results to Microsoft Excel. See Run Reports.
- Enter the codes.
- Import the spreadsheet back into LINK360 software. See Import Equipment Hierarchy, but where it talks about a starter file, you will use the spreadsheet that you exported and edited.
- Click Save. If new, the equipment is added to the equipment list.
Tip: If an error message informs you that the equipment name or ID already exists for this site, run an equipment report on the existing name or ID to find out what equipment is already using it. You may need to run the report for Lockout/Tagout, Confined Space, and Reliability if the equipment in question is used in only one of those centers.